With the Kingdom Release due out soon we thought we’d run through the latest features for VelPAK that will be appearing in it!
Major Update to Animation Module
Anim
The Animation dialog animates the images generated during looping workflows.
New tools allow better manipulation of the Animation with the option to export sets of images as an ‘.avi’ file to a named directory. Clicking on the Export button will open the project folder allowing you to select where you would like the.avi file to go. Name this file as you wish – default will be the Basename.

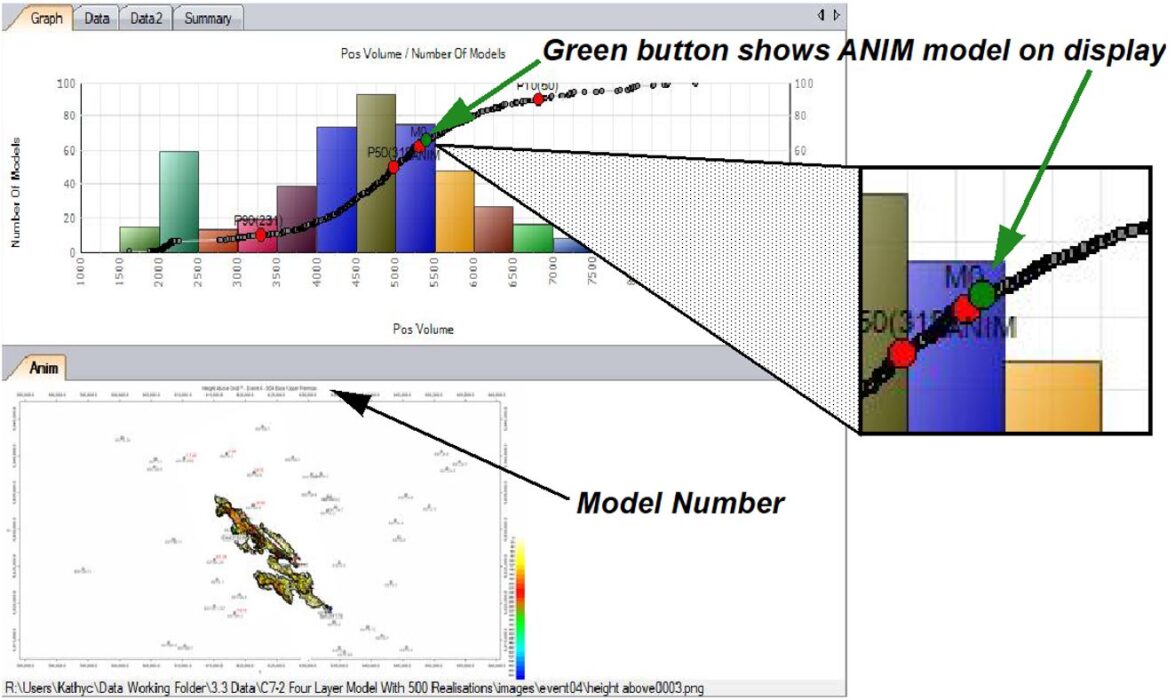
The information of what the Model number you are looking at during the Anim image display can be seen as part of the title of the display. At the same time if you open up the graph module along with the Anim screen the model currently being viewed will be seen on the P10/P50/P90 line on the histogram.
New Template System in the Surface Display
Surface Display Template System
The Surface module allows the user to design a surface display to suit their requirements and save it as a template, to be used every time a particular grid is selected for display. Every item available for display on the surface module can be changed and saved in the template, including the XY zoom.
Each grid slot for each event in the Model tree allows you to save a template so you can have a different set-up for time grids to depth grids.
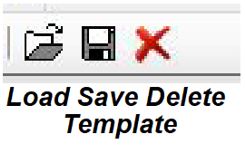
Use the buttons on the Surface Display tab to Load, Save or Delete a template in the grid slot currently selected.
How to make a Template
- Select a grid you wish to set up a particular template display for.
- Set up a map as you wish to see it, for example Zoom into an area, turn on Wells.
- When you are happy with the zoom XY AOI, go into the Range tab.
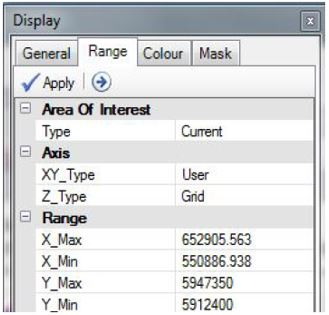
- Select XY_Type as User and press the Get Current AOI button . The current XY of the displayed map will fall into the XY slots on this page.
- Press Save Template on the main Surface Display tab.
You have now saved a template. This is one template saved for this slot in the Model Tree for the event VelPAK is set to.
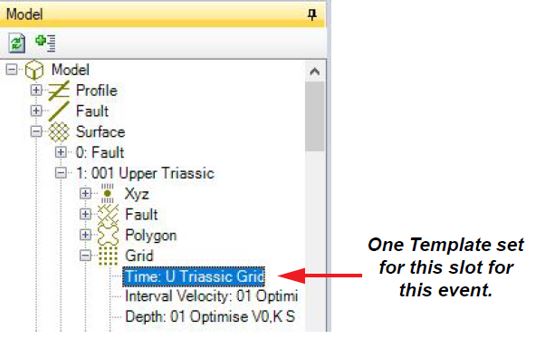
- When you select this grid slot for this event, pressing Load on the Surface Display tab . will load that one template associated with that slot.
- Pressing Delete on the main Surface Display tab . will clear that slot of any template.
Making a Template for a Height-Above Grid
- Zoom in on the required area showing the Height Above. Set the Range to this XY.
- Change the contour increment that best displays the map.
- Select a colour table that makes all values below zero white, for example. An example fo this would be ‘ES Height Above 50 White 2’ which would suit a contour increment of 50. Typically blue would represent low values, red would represent high values.
- Within the Height Above grid display you may like to consider whether you wish to have displayed the Spill Point and/or Crest Point.
- Once set up, press the Save Template on the main Surface Display tab.
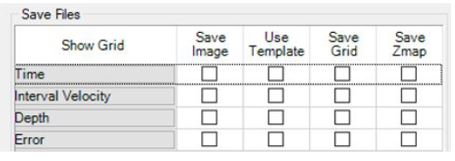
- Within the Wizard when you have set up the run for the multiple realisations, use the ‘Use Template’ option in the final, Save Files page for the template to be used for that type of grid slot for that event.

- The final procedure is to go into Analyse -> Anim module and review the produced grids – using the ‘Data’ tab to order them.